
Clean Sheets and a Station Bill
The Long Run, by Capt. Bill Pike (continued)


The Long Run, by Capt. Bill Pike (continued)
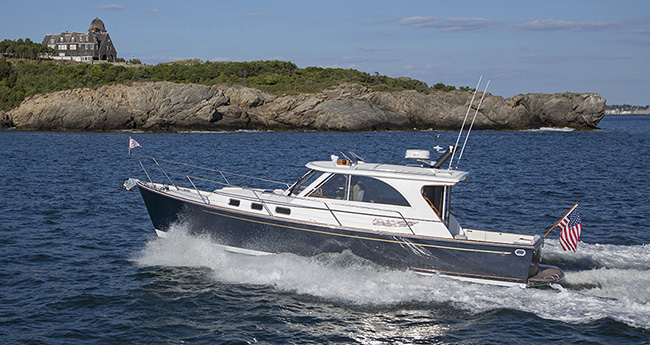
Manufactured in the Mid-West, the Legacy 36 is a Down East Stunner.
Thinking of a unique name for your new boat can be tough, that’s why we created a Boat Name Generator. Try it here. ▶ Finishing
Outline In Black. After finishing up with the white paint and removing the transparent tape that facilitated its application, Larry applies more tape, albeit both
A Magic Trick?
“Do you want a period after the abbreviation for Florida?” Larry asks. A piece of perfectly circular punctuation ensues. I mean, PERFECT!
No Glitches Yet.
As he fills in the letters for the hailing port, it’s obvious that Larry uses the smallest finger of his right hand for steadying. Notice that the paint overcoats the transparent tape in many spots.
Motor Oil?
A few of the expensive brushes that make up the tools of Larry’s trade. Oddly enough, he uses plain old motor oil to keep the hairs or bristles supple. Not a lot of oil, he says—just enough.
Easy Does It.
With a steady hand, Larry fills in the chalked-on letters after applying lengths of transparent adhesive tape along the spiled guidelines that he started with, top and bottom. The point of the tape is to make sure that each letter, when completed, is precisely as tall as the ones adjoining it.
The Paint.
Popular with professional sign painters and graphic artists alike for 60 years, Sign Painters’ 1Shot is a tough, alkyd enamel that Larry says he uses on all sorts of vessels, from tugboats to megayachts.
Just Five Minutes!
Larry “free hands” the letters with the chalk. Look ma, no straight edge! And hey, guess how long it takes to finish outlining: Betty Jane II, Jacksoville, FL. Five minutes flat!
Stunning Guesstimation.
Measuring from both sides and making vertical chalk marks ensures that the boat’s name will be centered. Interestingly enough, Larry centers the letters by eye first. He uses the steel ruler only to check his “guesstimation.” Was he right? Yup, perfect!
Laying It Out. Using a piece of chalk and a steel ruler, Larry draws guidelines to delineate the tops and bottoms of the letters that
As you might expect, the final stage of this thing is big-time rewarding. After the Awlcraft 2000 is dry, Lowe pulls all the tape, going
After he has mixed the Awlcraft 2000 in accordance with the directions on the can (as well as the knowledge he’s acquired by working in
Overlapping the outer edges of the transom with a swath of varnishing tape (as shown here) diminishes the chance that a distinct line between old and new paint will form during the spraying process. Basically, Lowe says, the overlapping tape deflects paint away from the taped transom edge and reduces the buildup that might otherwise accumulate there.

The Long Run, by Capt. Bill Pike (continued)

Manufactured in the Mid-West, the Legacy 36 is a Down East Stunner.

Thinking of a unique name for your new boat can be tough, that’s why we created a Boat Name Generator. Try it here. ▶ Finishing
Outline In Black. After finishing up with the white paint and removing the transparent tape that facilitated its application, Larry applies more tape, albeit both
A Magic Trick?
“Do you want a period after the abbreviation for Florida?” Larry asks. A piece of perfectly circular punctuation ensues. I mean, PERFECT!
No Glitches Yet.
As he fills in the letters for the hailing port, it’s obvious that Larry uses the smallest finger of his right hand for steadying. Notice that the paint overcoats the transparent tape in many spots.
Motor Oil?
A few of the expensive brushes that make up the tools of Larry’s trade. Oddly enough, he uses plain old motor oil to keep the hairs or bristles supple. Not a lot of oil, he says—just enough.
Easy Does It.
With a steady hand, Larry fills in the chalked-on letters after applying lengths of transparent adhesive tape along the spiled guidelines that he started with, top and bottom. The point of the tape is to make sure that each letter, when completed, is precisely as tall as the ones adjoining it.
The Paint.
Popular with professional sign painters and graphic artists alike for 60 years, Sign Painters’ 1Shot is a tough, alkyd enamel that Larry says he uses on all sorts of vessels, from tugboats to megayachts.
Just Five Minutes!
Larry “free hands” the letters with the chalk. Look ma, no straight edge! And hey, guess how long it takes to finish outlining: Betty Jane II, Jacksoville, FL. Five minutes flat!
Stunning Guesstimation.
Measuring from both sides and making vertical chalk marks ensures that the boat’s name will be centered. Interestingly enough, Larry centers the letters by eye first. He uses the steel ruler only to check his “guesstimation.” Was he right? Yup, perfect!
Laying It Out. Using a piece of chalk and a steel ruler, Larry draws guidelines to delineate the tops and bottoms of the letters that

As you might expect, the final stage of this thing is big-time rewarding. After the Awlcraft 2000 is dry, Lowe pulls all the tape, going
After he has mixed the Awlcraft 2000 in accordance with the directions on the can (as well as the knowledge he’s acquired by working in
Overlapping the outer edges of the transom with a swath of varnishing tape (as shown here) diminishes the chance that a distinct line between old and new paint will form during the spraying process. Basically, Lowe says, the overlapping tape deflects paint away from the taped transom edge and reduces the buildup that might otherwise accumulate there.


