

Photography by Capt. Vincent Daniello
Propeller Shaft-Seal Procrastination
The dripless seals on your boat require just a little simple maintenance once or twice a year, if you ignore those seals they can turn ugly.
Since dripless shaft seals don’t have valves to turn the water off, some boaters seem afraid to work on them, instead hoping they’ll just keep working. The truth is dripless seals—either lip-seal or face-seal types—require just a little simple maintenance once or twice a year. Most of it can even be done with the boat in the water. But if you ignore those seals they can turn ugly.
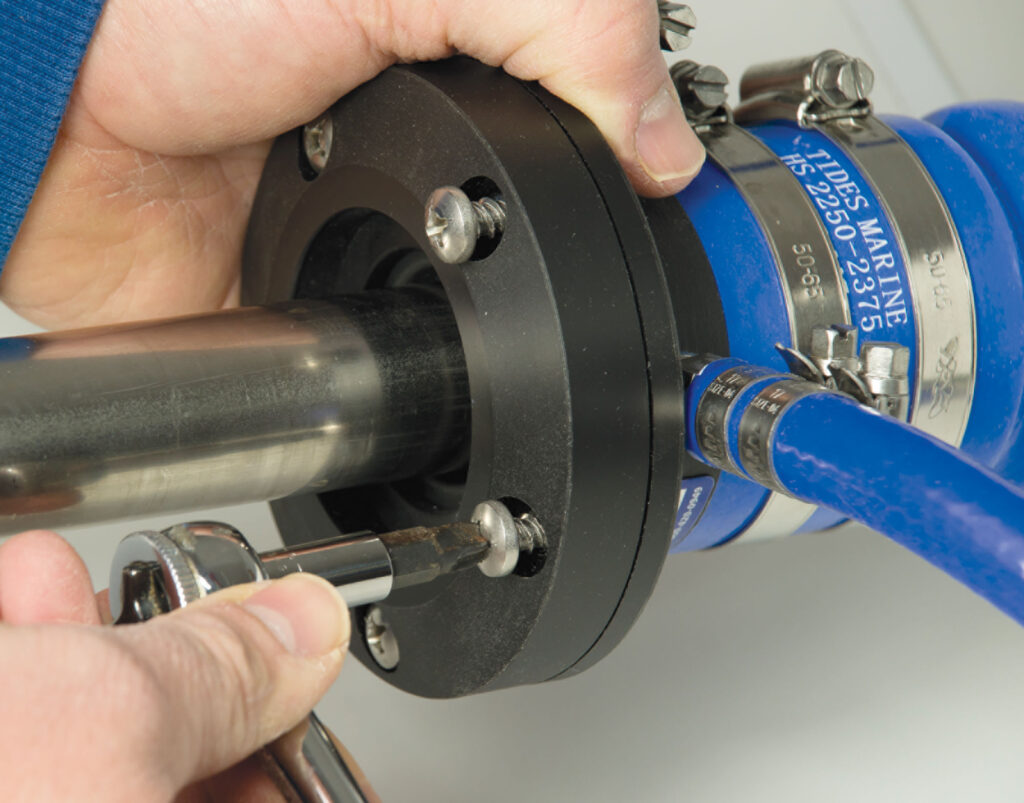
Shaft Seal Maintenance – Step 1
With lip-seal-type shaft seals like this one, a Tides Marine (www.tidesmarine.com) PSS SureSeal unit, a thin rubber stationary edge inside the seal rides around the rotating propeller shaft. The housing simply holds the rubber seal precisely against the shaft. When a lip seal begins to leak, replace it. Required tools are pretty basic, with one caveat: Large screws in the face cap require a #3 Phillips screwdriver—use a #2 Phillips and you’ll eventually strip the unit’s face-cap screws.
Shaft Seal Maintenance – Step 2
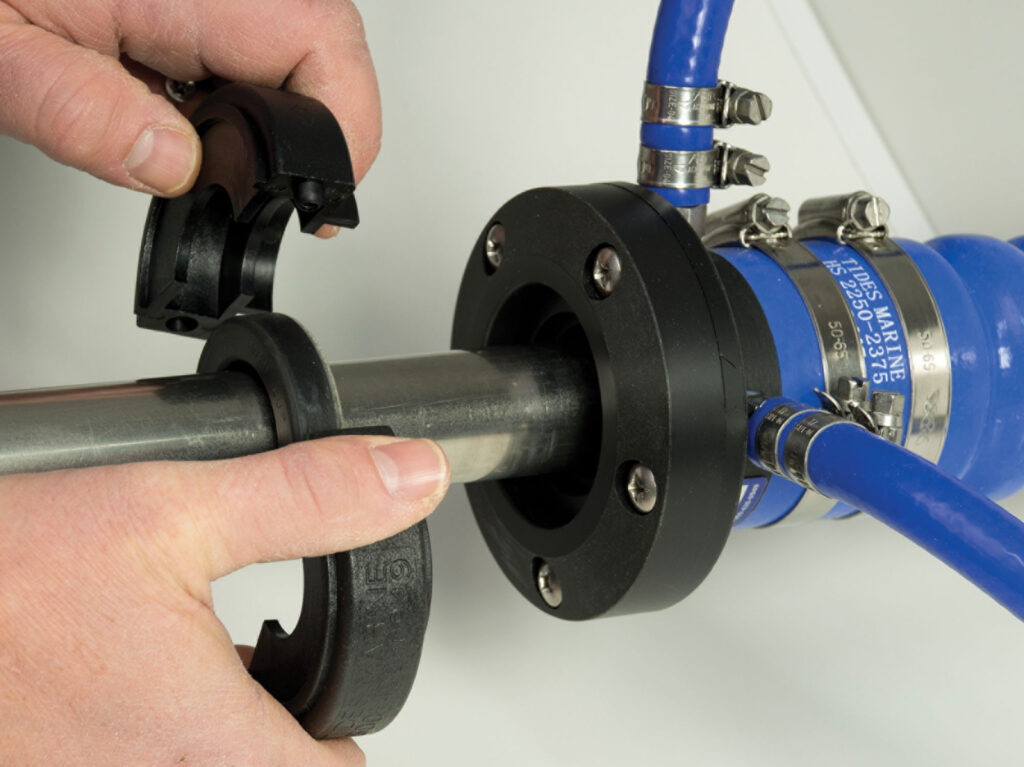
Hopefully, you already have a spare seal on your shaft in the optional carrier, typically installed a few inches ahead of the shaft-seal housing. If not, remove the shaft from the transmission coupling, sand smooth any nicks that may damage the new seal, and slide it on. Then remove the screws in the face cap and slide it up the shaft. Bend the large split washer that was behind the face cap and remove it from the shaft.
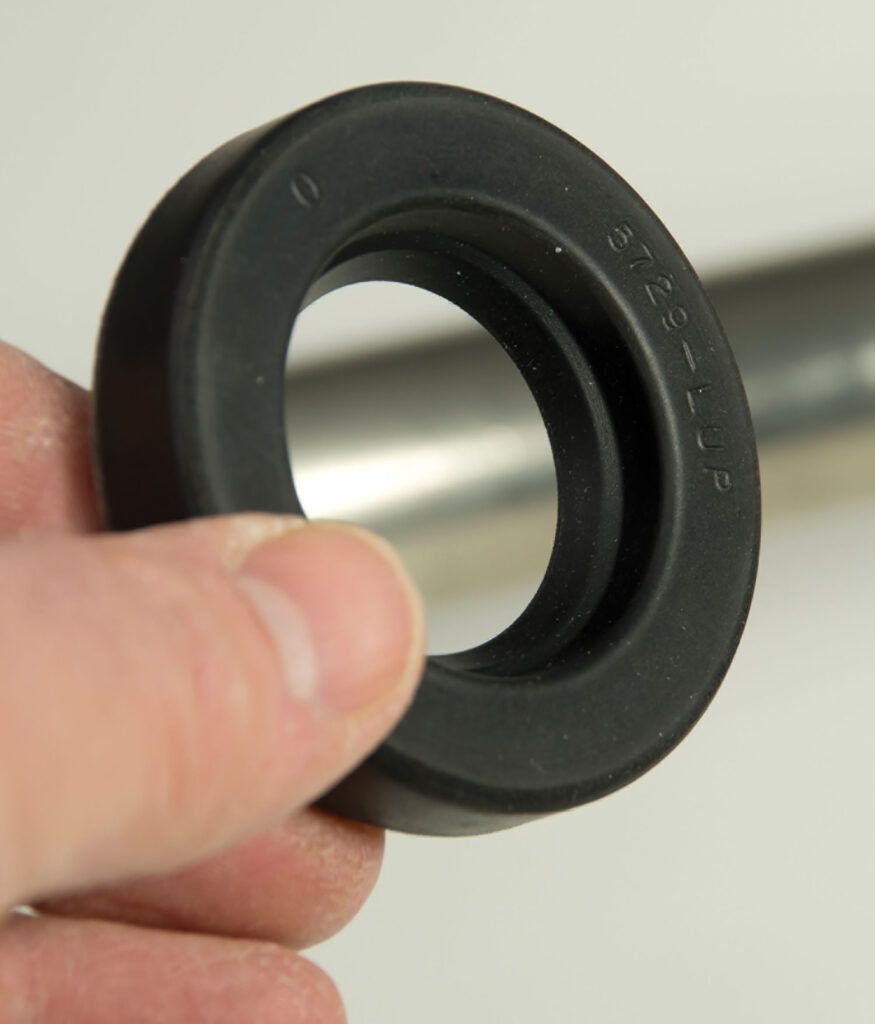
Shaft Seal Maintenance – Step 3
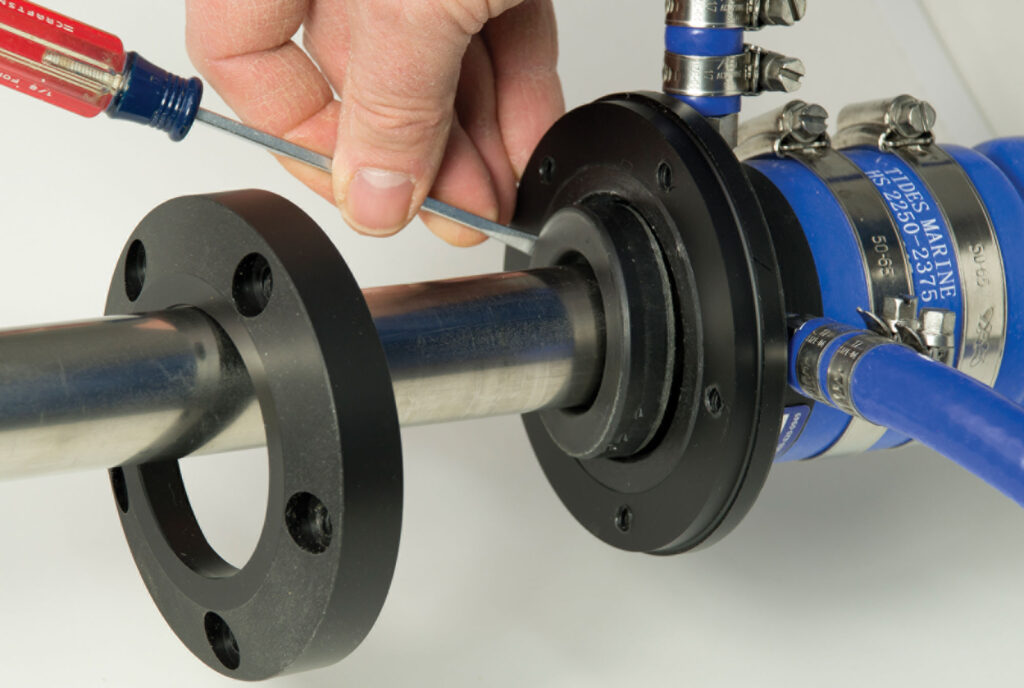
Pry the old seal out with a small screwdriver, being careful not to mar the housing. Some water will flow into the boat. It may seem like a lot, but your bilge pumps should handle it, so take your time.
Cut the old seal off the shaft with wire cutters. Slide the new seal in place, being careful not to damage its thin rubber edge. (If you’re sliding the seal down the entire length of the shaft, use the red protective bushing supplied.) Press the seal evenly into the housing using the split washer (which you’ve put back on the shaft) and the face cap. Now the water will stop. Tighten the screws in the face cap evenly, in a star pattern, to press the seal home. That’s it; you’re done! But make sure to replace the spare seal soon.
Shaft Seal Maintenance – Step 4

The stainless steel rotor on face seals like PYI’s Packless Shaft Seal (www.pyiinc.com) rotates with the shaft. It’s simply pressed against a stationary ultra-smooth carbon surface by the bellows that attaches to your shaft log. If either the carbon face or stainless rotor loses its polish, your seal will leak, and once leaking, the steady drip of seawater will leave residue behind, worsening the leak. Technically, the surfaces should self-polish with use. If they don’t, fold a sheet of 600-grit wet sandpaper in half, slip it between the carbon and stainless faces, and pull the sandpaper around the circumference of the shaft a few times.
Worst case, you may have to lap a badly neglected stainless-steel rotor. With the boat out of the water, remove the shaft from the transmission coupling (you may have to remove the prop as well in order to slide the shaft far enough astern to get adequate clearance), slide the rotor off, and work it in a figure-eight motion on 600-grit sandpaper—a piece of glass ensures that sandpaper lays perfectly flat. If you must also lap the carbon seal, go easy; it’s much softer than stainless.
Shaft Seal Maintenance – Step 5
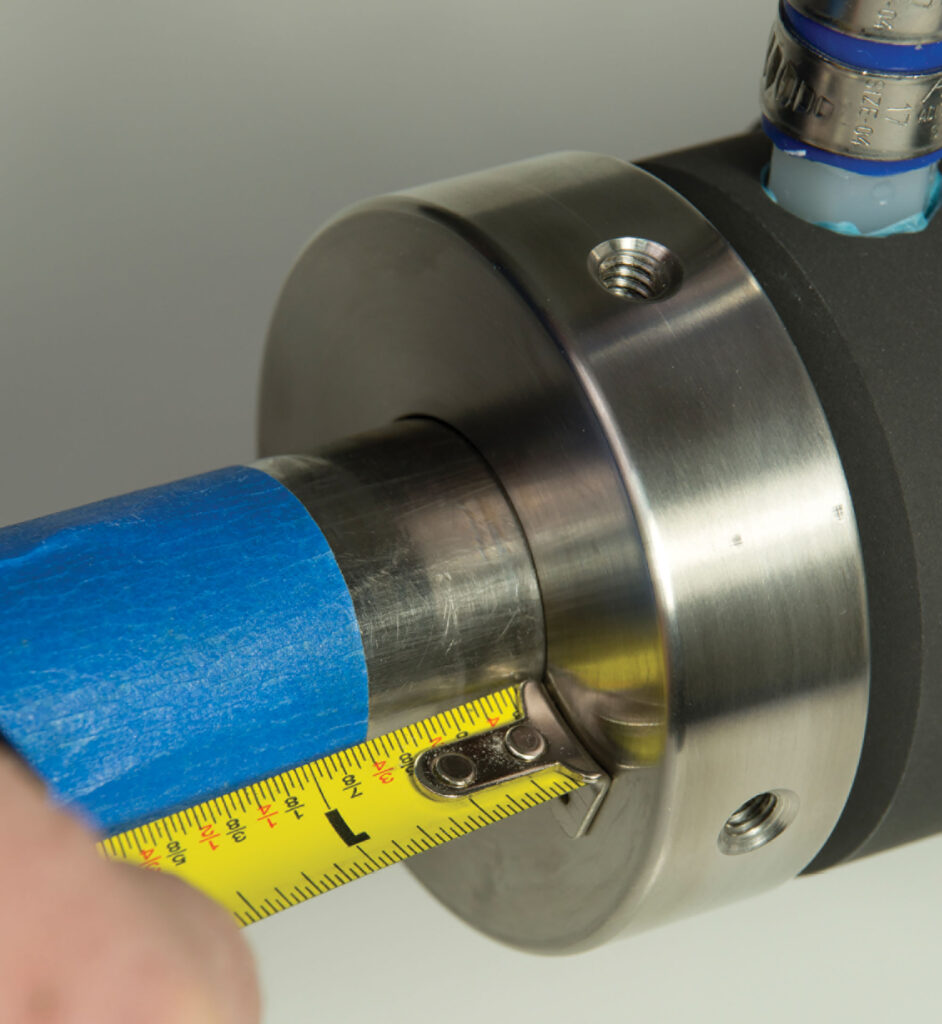
Now replace both O-rings inside the bore of the rotor, lubricate them with dish soap—never grease—and slide it back onto the shaft until it touches the carbon seal. Mark this neutral position with tape or a Sharpie and then push the rotor farther against the springiness of the bellows—for shafts smaller than 1½ inches, an extra three quarters of an inch typically develops the right pressure. Larger shafts or troublesome seals require a bit more.
The two holes in the rotor call for four setscrews—two against the shaft and two to lock the bottom screws in place. Don’t reuse a setscrew. Once the sharp circular edge at the tip is flattened, it won’t properly bite. (In a pinch though, you can check all four setscrews. The two locking setscrews may be sharp enough to work.) Use thread lock, too.
And don’t forget, if your dripless shaft seal continues to be troublesome, a bent shaft or a misaligned engine may be to blame. If your seal dances up and down at cruising speed, you’ve got an alignment issue.
Worn engine mounts, on the other hand, may shake the shaft
only in rough seas.
In any case though, it’s a good idea to correct anything more than an occasional drip while underway. Neither lip nor face seals should drip at the dock.
Check Your Water Flow
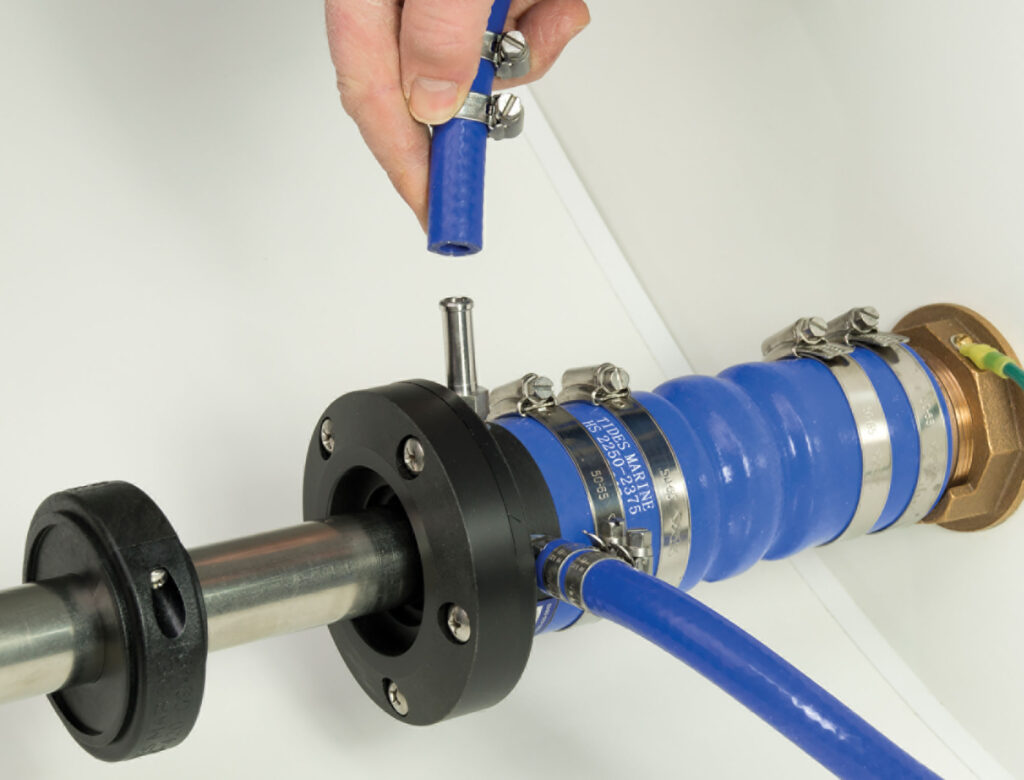
If the cooling water that’s injected into either lip- or face-seal housings stops, the housing may fail entirely, leaving only the stern tube, a torn or melted rubber bellows, and a rush of seawater. After a boatyard launch or any engine-related raw-water work, remove the hose from your seal housing to ensure water is flowing in from outside the boat. Then, with the engine idling, the same hose (while disconnected) should fill a gallon jug in about a minute. Also, crossover hoses between two shaft seals provide good backup, but can also mask a stoppage from one engine—until flow from the other engine stops too! So check crossovers—in both directions.
You can also find this video–and hundreds of our other videos–here ▶


